How to do 3D Gray
3D Gray takes a PNG file with a transparent background and creates a 3D like engraving. How it works is anyplace that is tranparent
is changed to balck, the hightest engraving value. Any place that is not transparent is dithered using the selected dithering algorithem.
You can select the gray level for the dithered image. Selecting a low number will make it look like the image is a raised cutout. Selecting
a hight number will make it look like an engraved image. Selecting a min range number like 100 will give a 3D like apperance to the output.
Normal Jpeg files contain red, green and blue information. There is another file type called PNG. This
filetpe contains red, green, blue and alpha information. The alpha channel determins how transparent the image is.
The 3D gray system uses this information to set the background to black for the maximum output when the transparency is 100%.
The parts of the image that are not transparent are then dithered with the selected dither method.
So how do we create these PNG files? You can use a photo editor like photoshop and erase parts of the image by hand and then save
the image as a PNG file or you can use Green Screen Wizard to use a photo with a green background and output a transparent background with
the click of a button.
In Green Screen Wizard, first load an image with a green background:
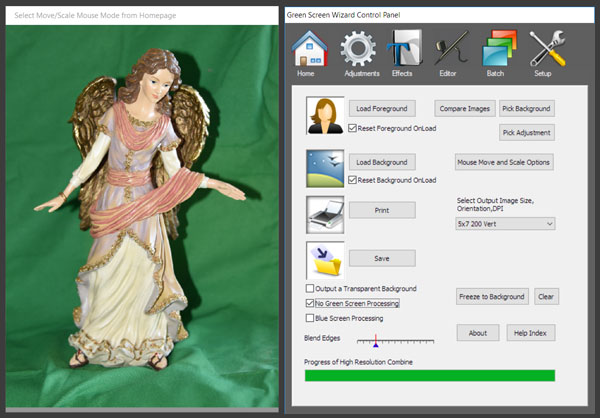
Then select output transparent background. Where the checkerboard shows that is the transparent area.
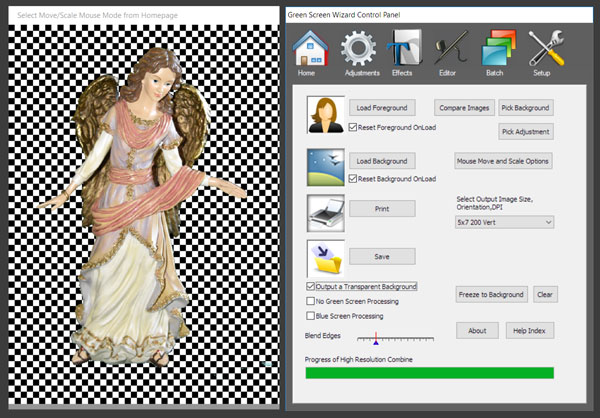
Then click on the save button. The Wizard will know you need a png file as it has a transparent background.
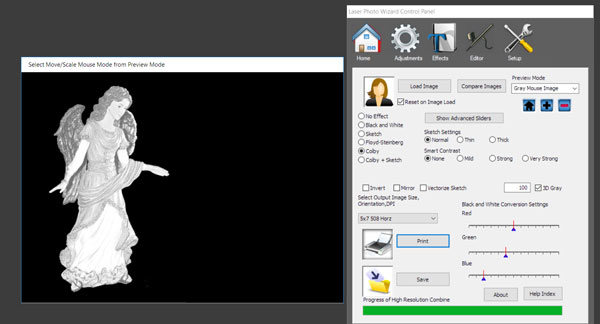
To start the process of createing a 3D gray image, load the png file with the transparent background. When it is
loaded the Laser Wizard will see the transparency information and then give it a white background where the image is
fully transparent.
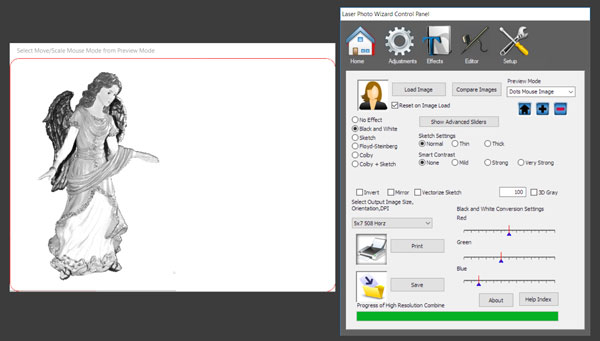
Select a dithering method.
Then check the 3D gray checkbox. This will turn the background black and the dithered image will have the gray
that was specified in the edit box next to the 3D gray checkbox.
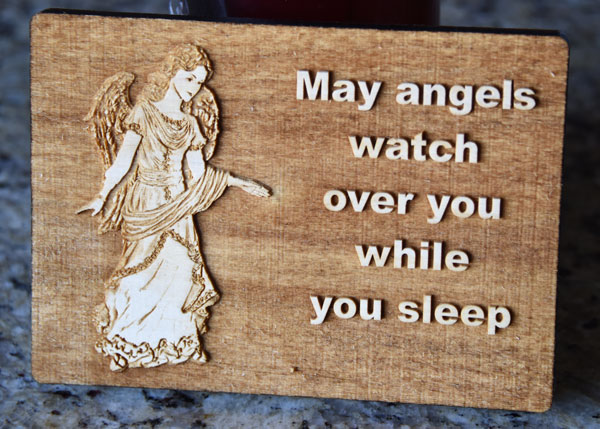
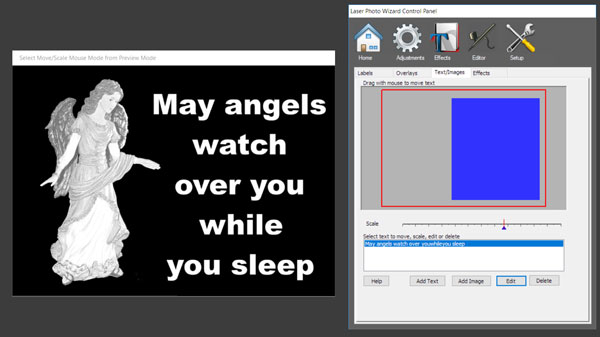
You can add text to the image. White text will be raised the most, gray text will be raised half.
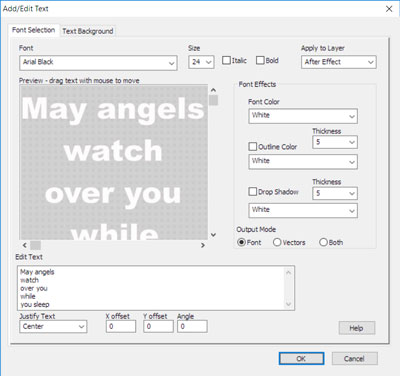
Then you can move it to the correct place on the page.
Now you are ready to print the image.
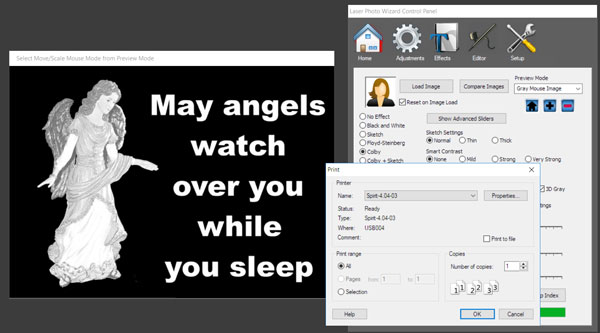
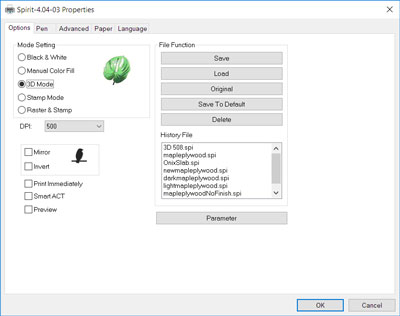
Make sure you select 3D mode in the printer driver.
Here is the output: